

8.
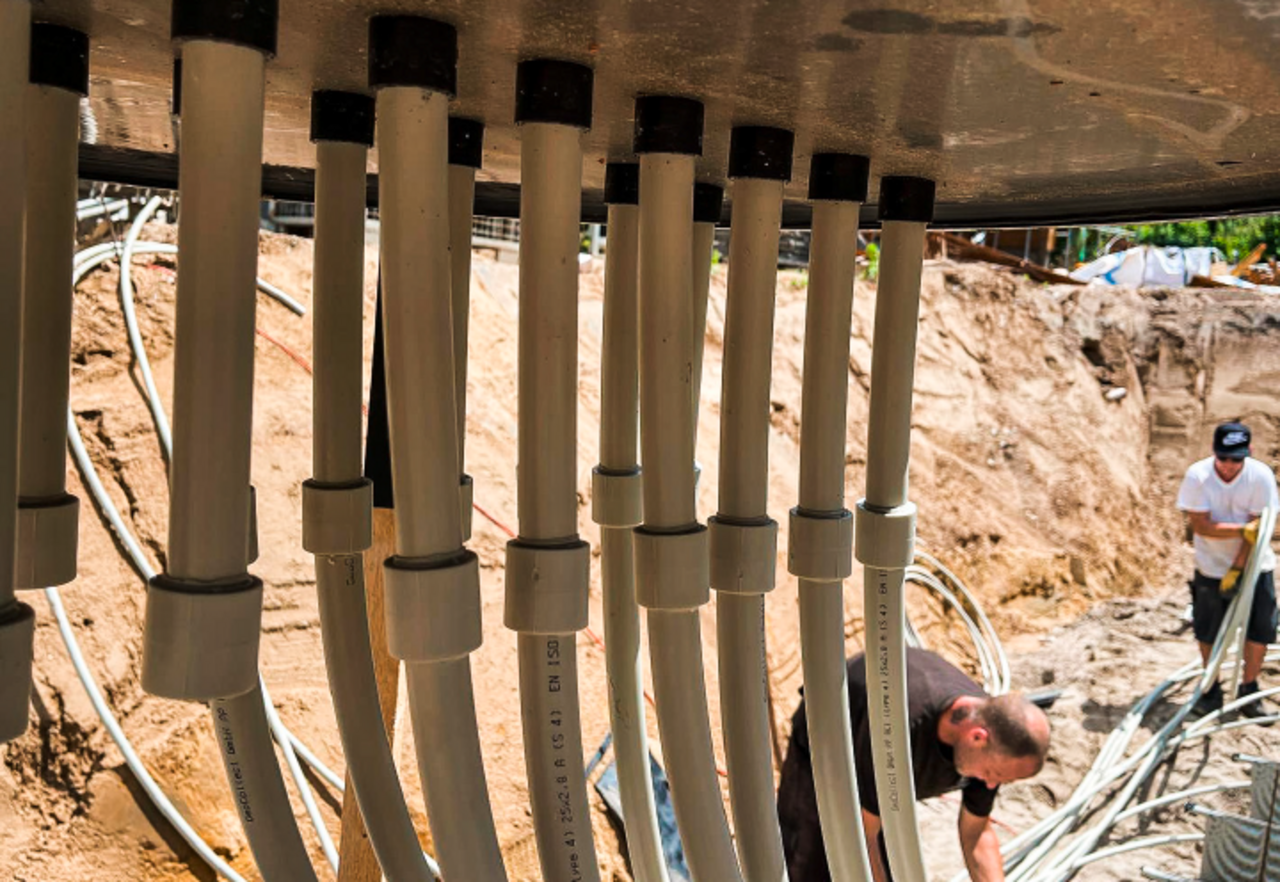
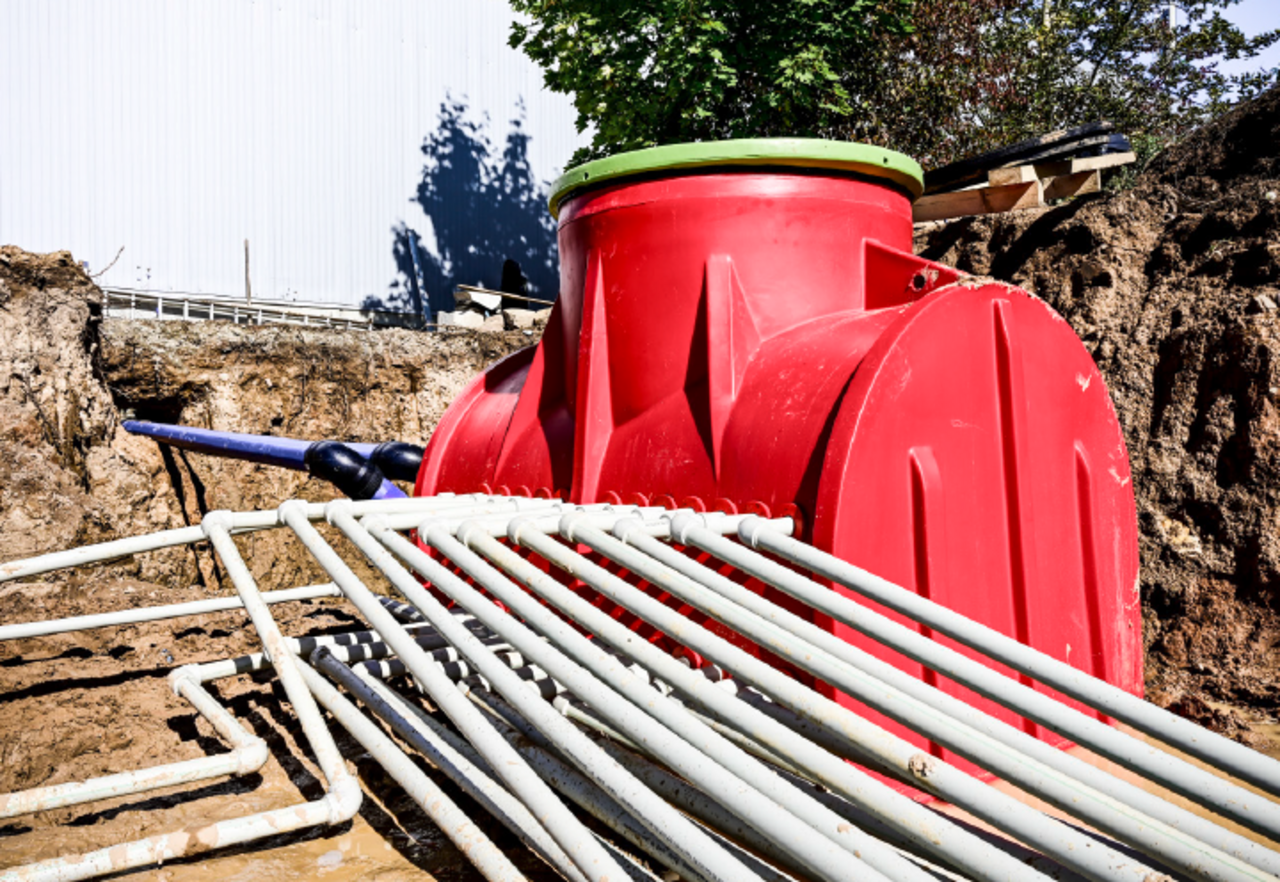
Setting up the distribution shaft
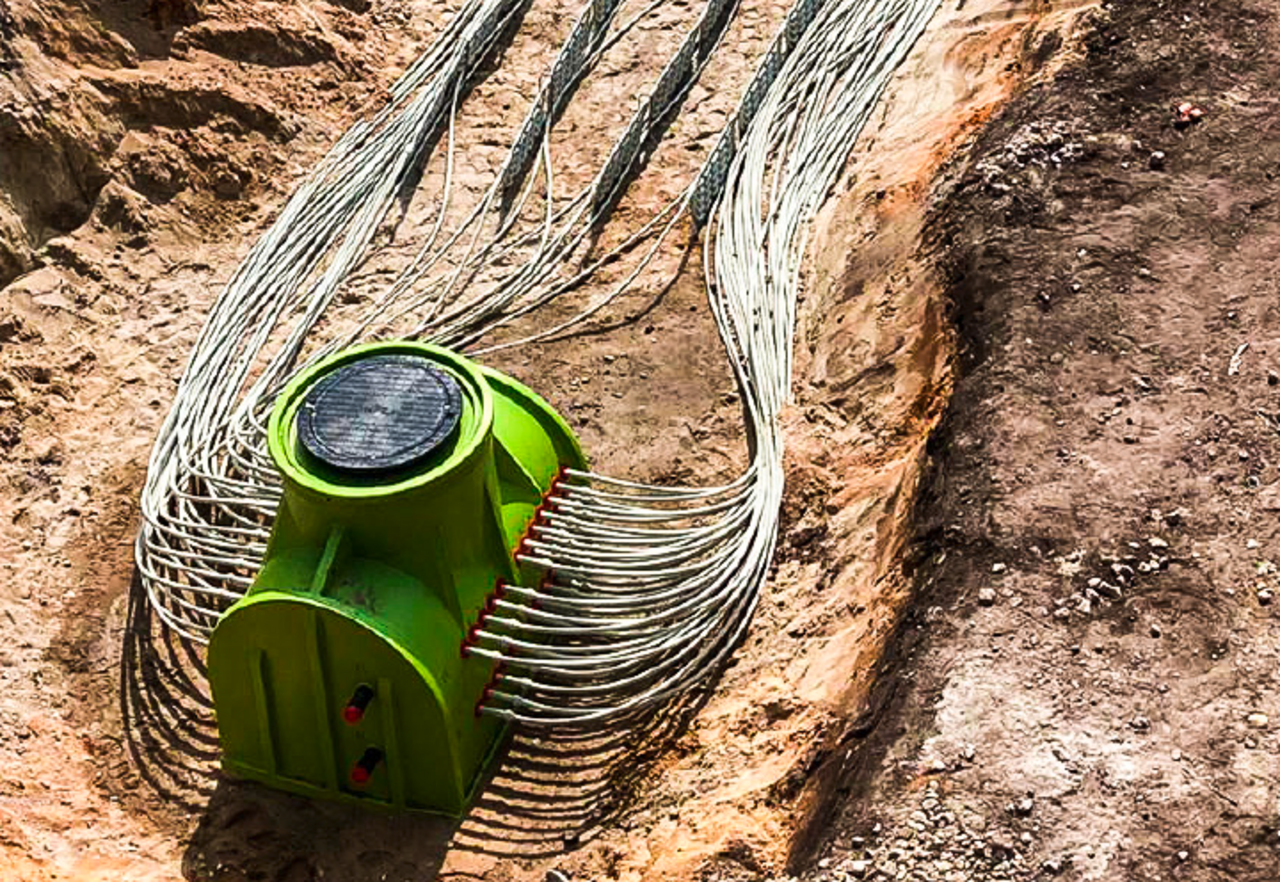
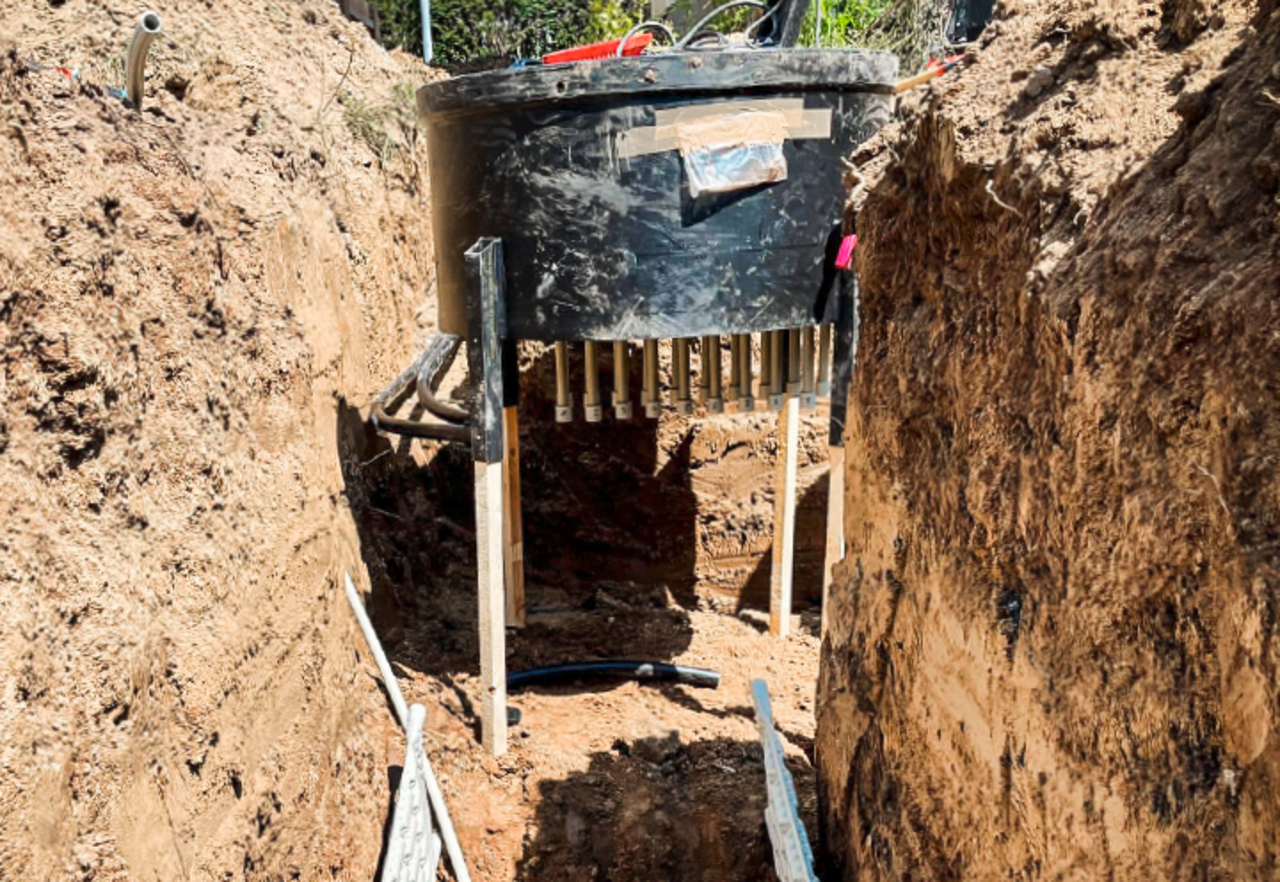
The distribution shaft is set up, then the flow and return flow pipes of the strands are welded to the 25 mm PP pipes below the distributor. Incidentally, the collector pipes are made of polyethylene. An extension to the building services room is realized using PE welding sockets.
12.
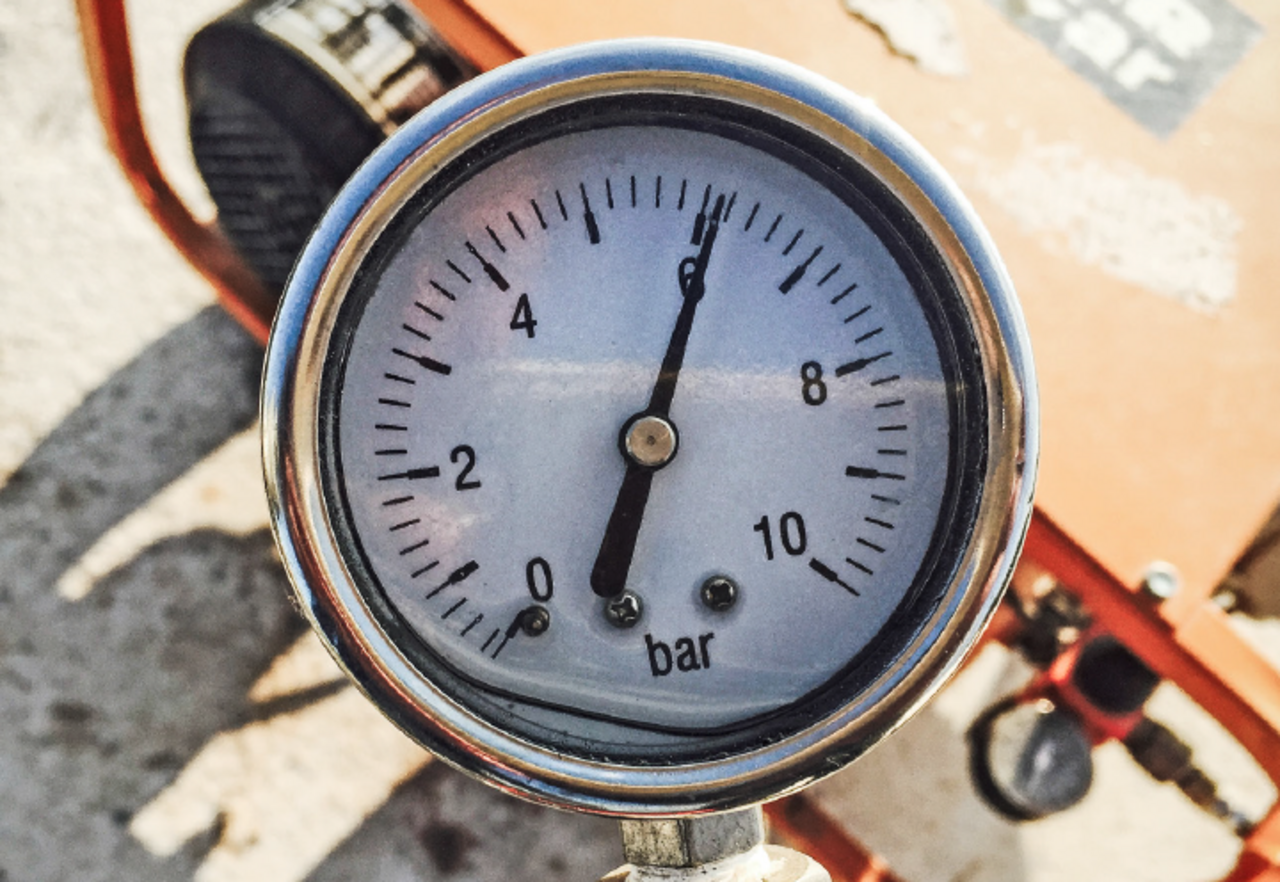
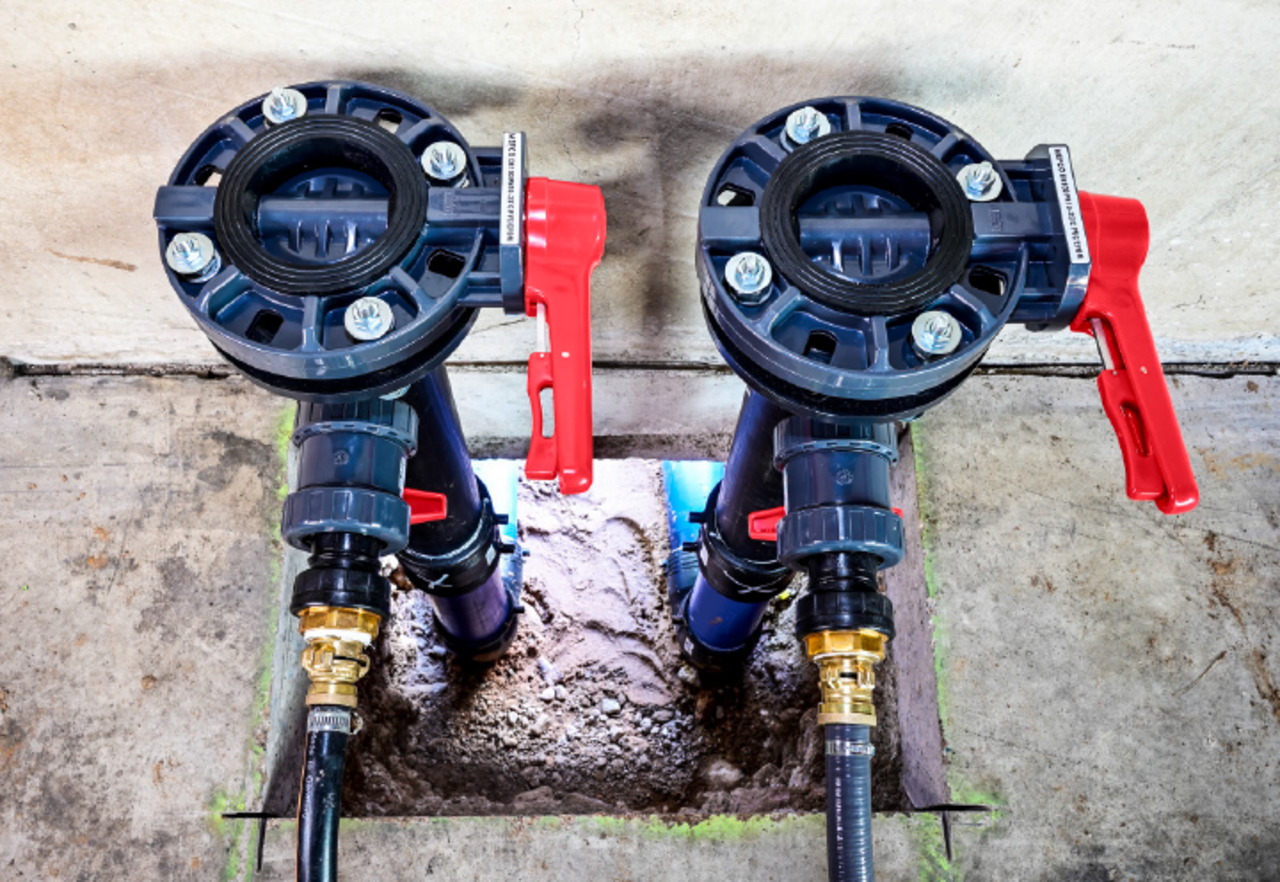
Filling and flushing
Depending on the planning, the system can be filled with heat transfer fluid (usually a mixture of water and ethylene glycol with a glycol content of 25 to 30%) and then flushed and ventilated. A simple solar flushing pump can be used for systems in which each individual GeoCollect strand is welded to the distribution system; in the case of strands connected according to Tichelmann, a more powerful flushing pump must be used.
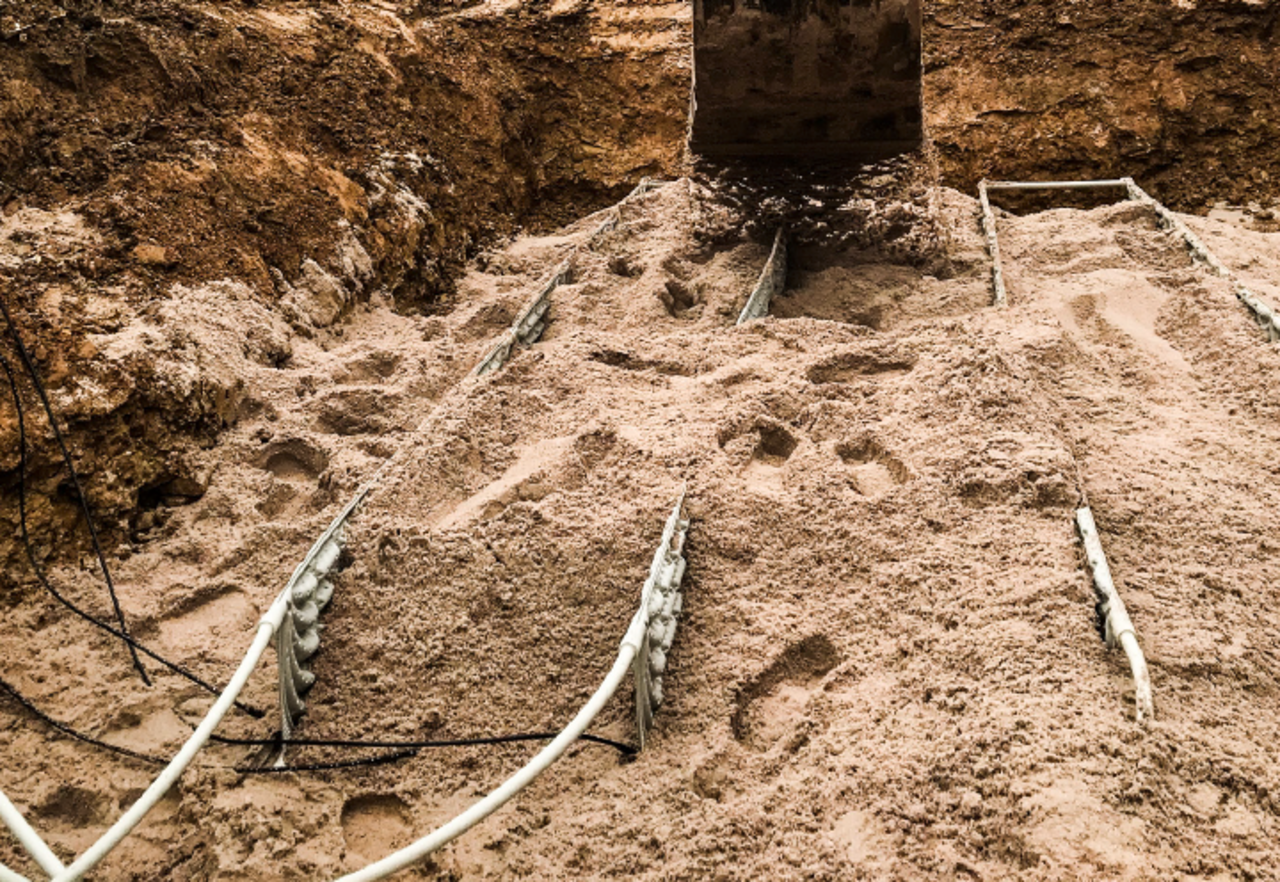
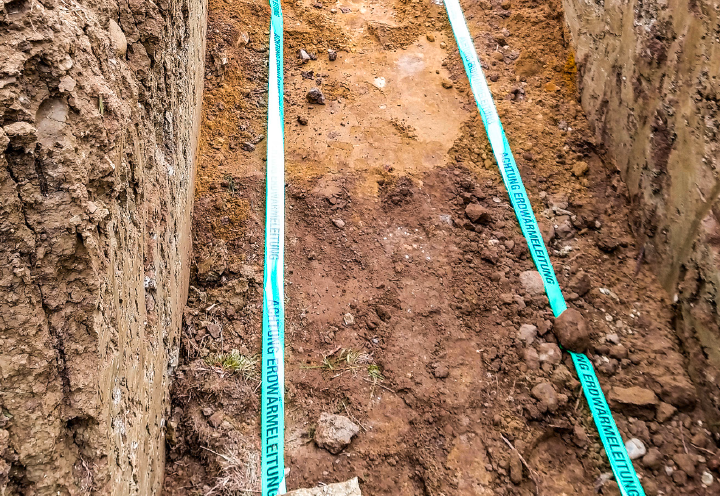
13.
Filling and consolidating (1/5)
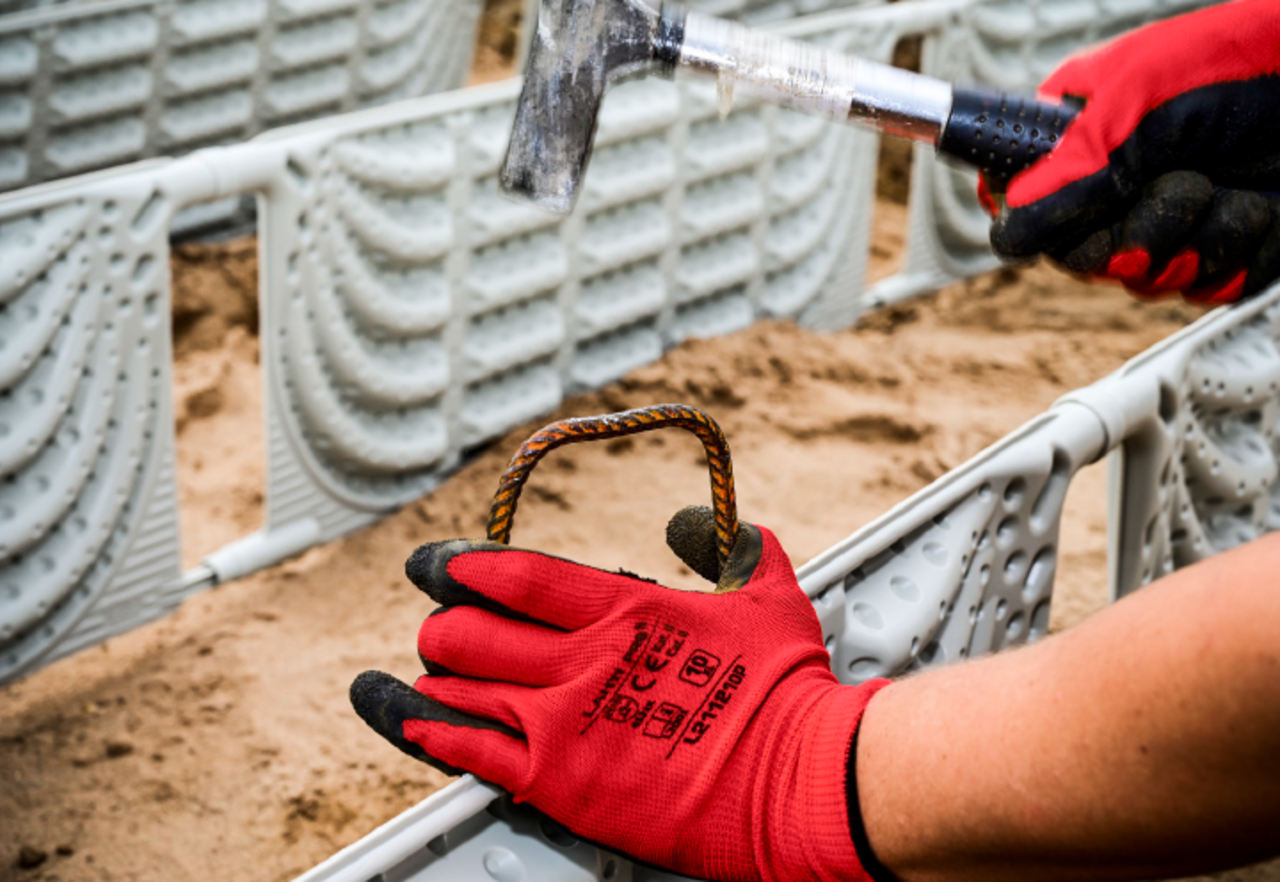
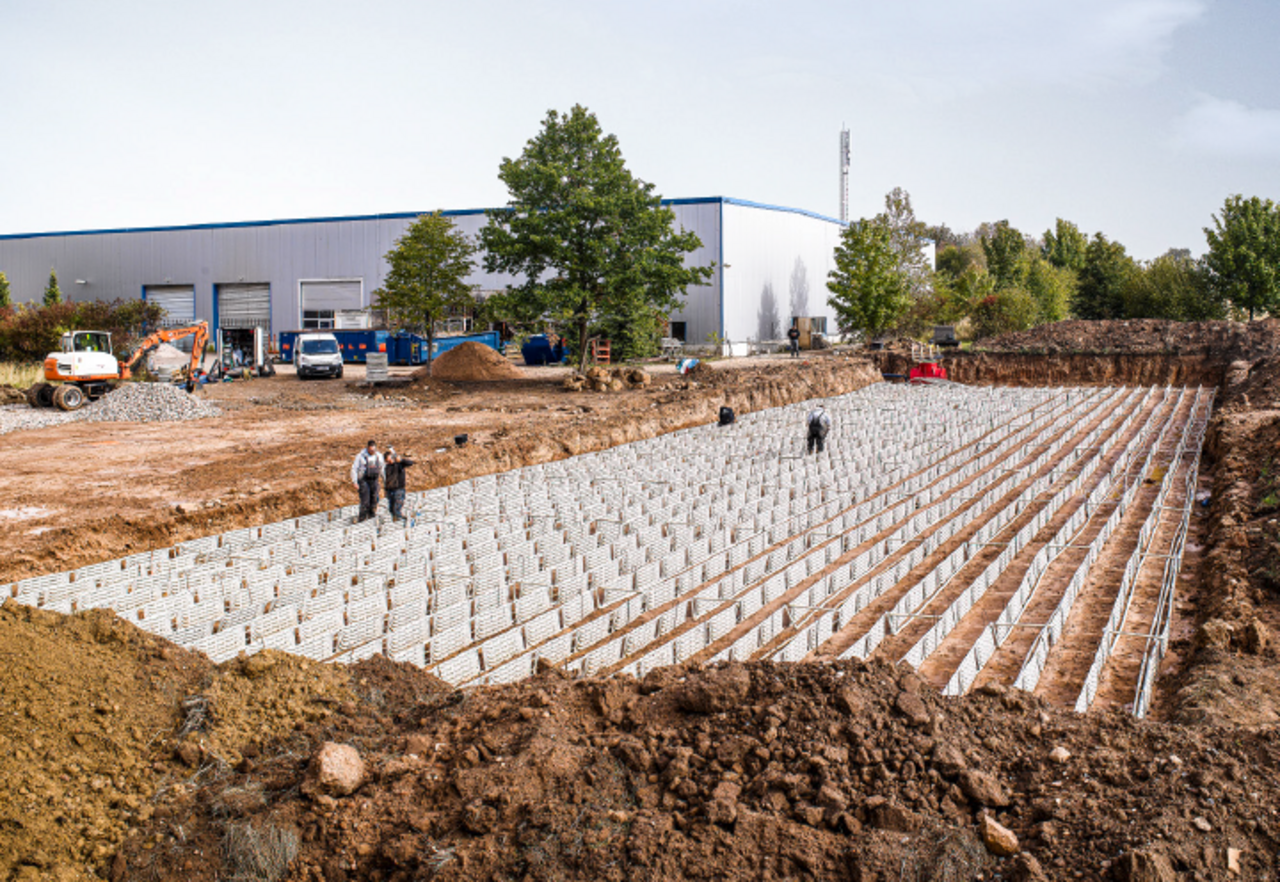
The filling of the trenches or the excavation pit is an extremely important part of the work. It is performed using cohesive soil or sand slurry until the absorbers are covered by up to ten centimetres of earth. Then the trench is filled with permeable excavated material.
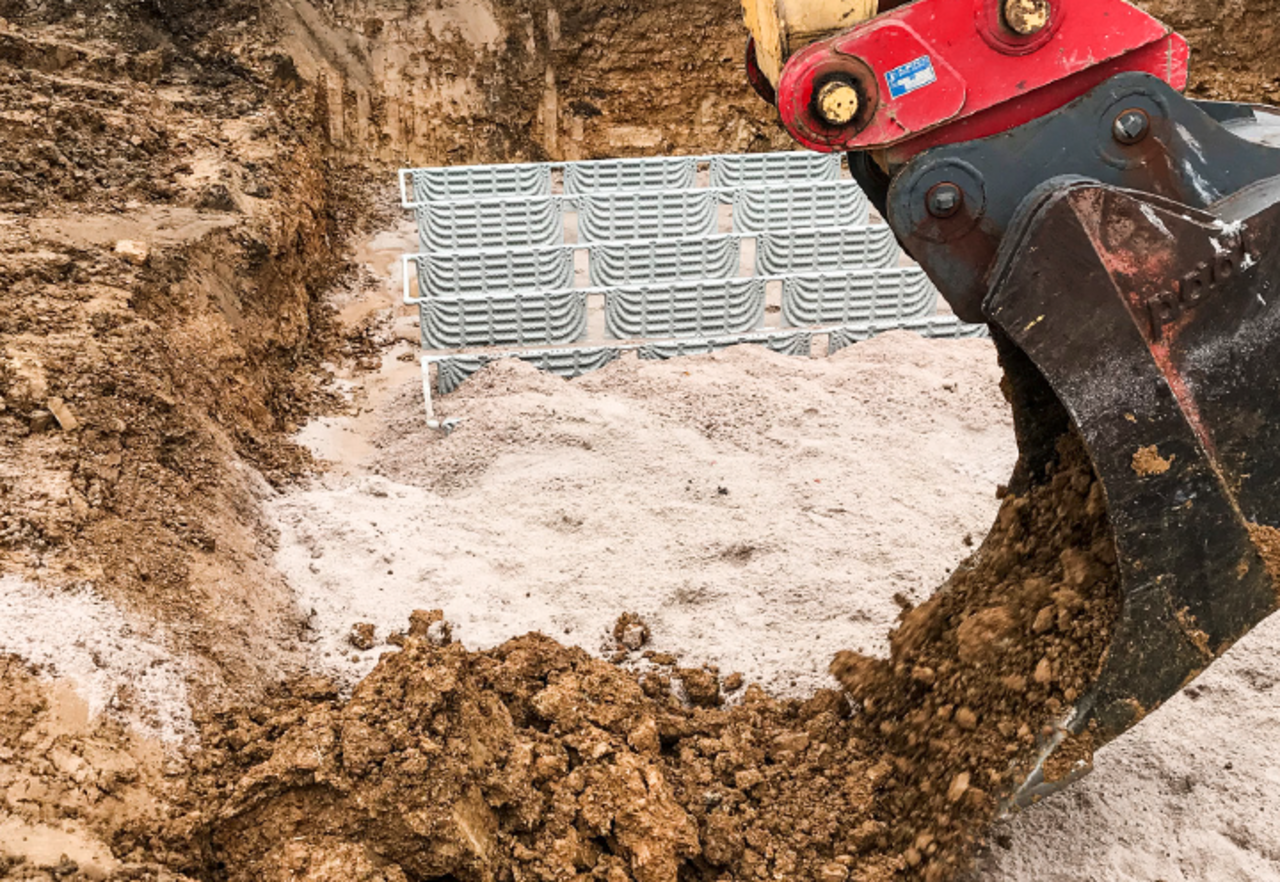
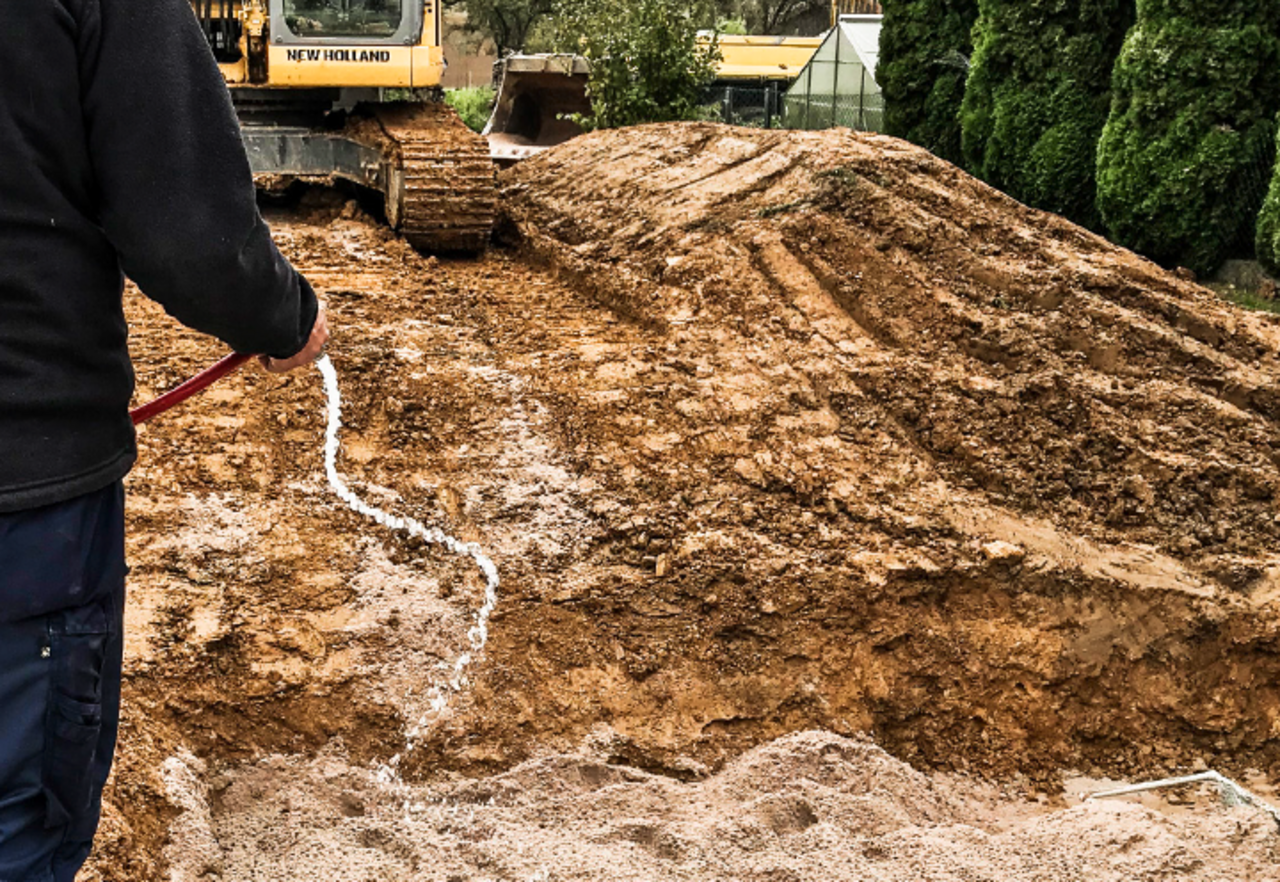
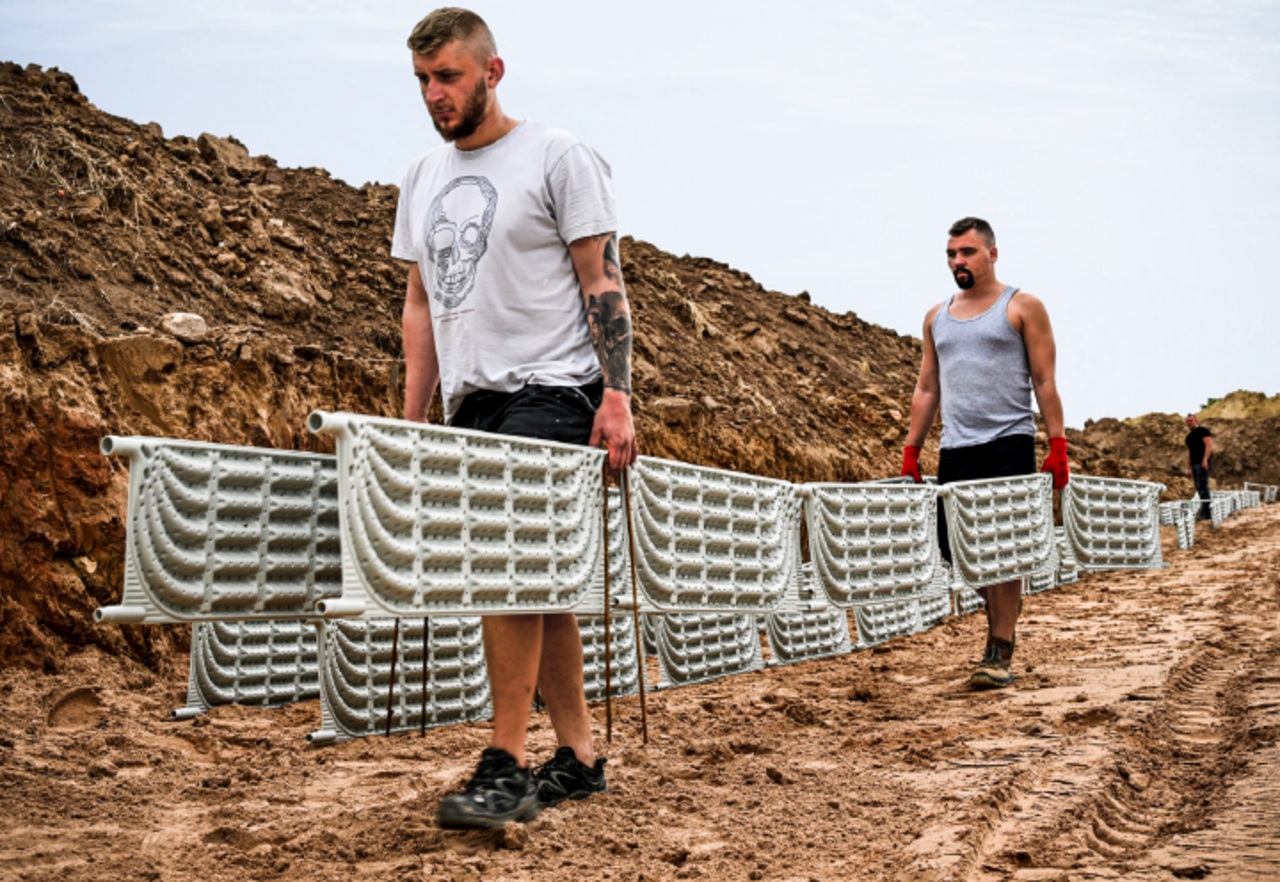
15.
Filling and consolidating (3/5)
The GeoCollect system has to be slurried until the collectors are completely covered. This creates an “adhesive” connection between the ground and the modules. Air trapped in the collectors is not permitted. Systems covered in sand and then slurried are laid out in a strongly consolidated mass. This allows the upper part of the excavation pit to be consolidated with ease.